

How To Fix 'Unable To Verify Update’ Issue In iOS 11
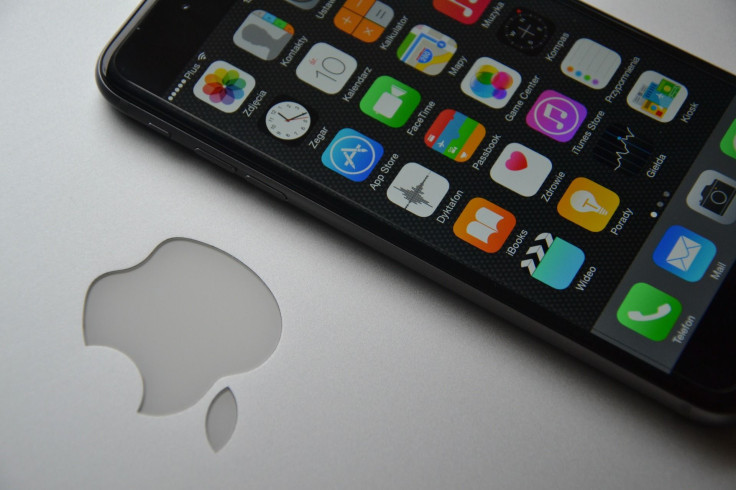
Apple released a new update for iOS 11 earlier this week. While the update to iOS 11.2 promises bug fixes and improvements to the mobile operating system, it has also brought some users a common error that is causing problems.
After updating to iOS 11.2, some iPhone and iPad owners have been presented with the dreaded “Unable to verify update” error message. The issue rises on the regular for a certain percentage of users when trying to update their iOS devices.
Luckily, this common problem has a reliable set of solutions that have worked update after update whenever the issue arises. If the “Unable to verify update” message appears when trying to update to iOS 11.2, here’s what to do to fix the problem:
Connect To The Internet
This should go without saying—and most people are typically connected in one way or another, be it via Wi-Fi or mobile network—but for those who occasionally set their device to Airplane mode to avoid notifications or are out of range of network, it’s important to get online. Try toggling connectivity on and off in the Control Center.
Shut Down The Settings App
Once connected to the internet, shut down the Settings app. Double tap the Home button on the device and scroll through the active apps to find the Settings app. Swipe up to shut down the app, then return to the home screen and open it again.
Go to the General menu in the settings app, select Software Update and try to install the update again.
Refresh The iOS Device
If resetting the Settings app doesn’t fix the issue, it may be necessary to clear the cache of the device’s memory. Press and hold the power button until the “Slide to power off” option appears on screen. Slide to power off the device, then power it back up. Once the device has restarted, try the update again.
Reset Network Settings
As mentioned earlier, an internet connection is essential for the update process—not only to download the update but for the device to verify its validity with Apple. As such, it’s important to make sure your network is functioning as it should.
If the wireless network is proving problematic in the update process, open the Settings app and open the General menu. Scroll to the bottom and find the “Reset” menu. Select the “Reset Network Settings” option.
A bit of warning regarding this option: resetting the network settings will clear all of the Wi-Fi networks stored by the device, so be prepared to enter passwords again as if joining the network for the first time.
Delete The Update
If all else fails, it’s possible that the update itself is corrupted. This could be the result of a hiccup in the download process. Luckily, it’s possible remove the failed update to download a fresh version of the update to install.
Go to the Settings menu, select General the open the “Storage & iCloud Usage” menu. Tap “Manage Storage.” A list will begin populating with all information stored on the device, including an option that should read “Software Update.”
Tap “Software Update” and choose the “Delete Update” option. Return to the Settings app, open General, select Software Update and download the update again.
© Copyright IBTimes 2024. All rights reserved.
-

French Air Traffic Controller Strike Threatens Flight Chaos
-

Azerbaijan Says 'Closer Than Ever' To Armenia Peace Deal Amid Border Talks
-

How UK's Biggest Water Supplier Sank Into Crisis
-

Taiwan Hit By Dozens Of Strong Aftershocks From Deadly Quake
-

Gaza Health System 'Completely Obliterated': UN Expert
-

In Ecuadoran Amazon, Butterflies Provide A Gauge Of Climate Change
-

50 Years On, Vintage Vehicles To Reenact Portugal's Carnation Revolution
-

Conflicts Push Military Spending To 'All-time High': Report
-

'Thank You, America:' Zelensky And Netanyahu Applaud House Passage Of Foreign Aid Package
-

Women Journalists Bear The Brunt Of Cyberbullying


