

How To Set Up PlayStation VR
To make sure you know how to set up the PlayStation VR, Sony released three videos going over how to set up the headset. In the first video, Unpacking, Sony goes through everything that comes included in the box: which is a Quick Start guide, the PSVR headset, the Processor unit, the stereo headphones, and all of the necessary cables you need.
How to set up your PlayStation VR: Getting Connected
In the second video, Getting Connected, helps show you how to connect your PlayStation VR to your PlayStation 4. Make sure you have your PlayStation Camera connected to your PlayStation 4, and your PlayStation 4 connected to your TV, so then you can disconnect the HDMI cable from your PlayStation 4 and put it directly into the Processor unit. You will then need to use the PSVR HDMI cable to connect the Processor unit to your PlayStation 4.
Once you’re all done with that, you’ll need to plug the Processor unit a wall out with the AC adaptor. Next, you will need to slide back the right side of the Processor unit to open the VR headset connection cable ports, plug the cable in, and slide the cover back. If you’re wondering what to do with the other end of the cable, it plugs into the VR headset’s cord. And the last step, plug the stereo headphones into the in-line remote.
When you’ve followed all of the steps, turn on your TV, PlayStation 4 and your PlayStation VR. If you connected everything properly, you should see tracking lights glowing blue on the back of the headset.
How to set up your PlayStation VR: Entering Virtual Reality
The third video, Entering Virtual Reality, shows you how to set to set up the PlayStation Camera and your play area. If you leave your play area, a warning will appear asking you to return to the play area.
© Copyright IBTimes 2024. All rights reserved.
-
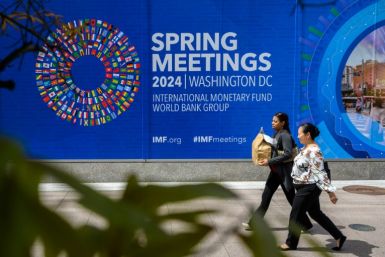
IMF Says Global Debt Levels Face 'Great Election Year' Risk
-

Divisions Among Colombia's FARC Dissidents Complicate Peace Talks
-

French Far Right Gets Youthful Vibe With 28-year-old Leader
-
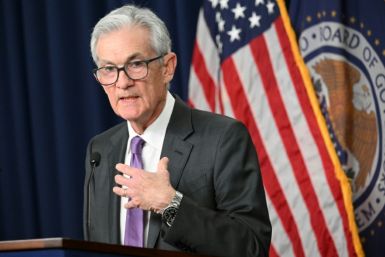
US Fed's Powell Says Inflation Fight May Take 'Longer Than Expected'
-

Mideast-related Oil Price Spike Threatens 'Relatively Good' Economic Outlook: IMF Chief Economist
-

Wine Growers 'On Tip Of Africa' Race To Adapt To Climate Change
-

Despite Olympic Truce, Games Wrestle With Political Fallout
-

What Will The Fed Do With The Latest Inflation Numbers?
-
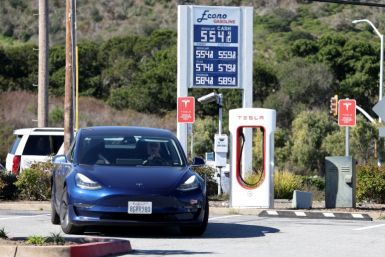
US Retail Sales Up More Than Expected In March
-
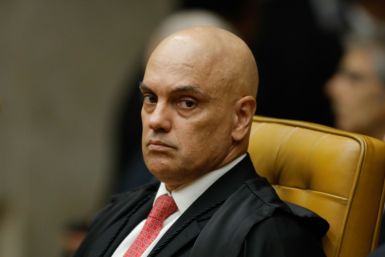
Alexandre De Moraes: Brazil Judge In Feud With Elon Musk


