

Pumpkin-Carving Pattern Tips and More for Halloween 2011

Pumpkin carving is one of the best parts of Halloween because the patterns help to create that scary mansion effect. But carving a pumpkin isn't easy. Here are some pumpkin-carving pattern tips from Pumpkin Masters that can ensure your house is the scariest on the block this Halloween season.
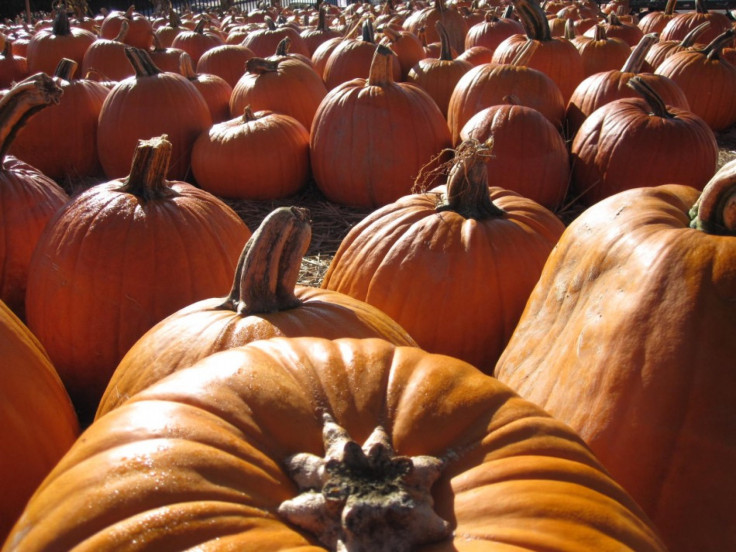
Choosing a Pumpkin for Carving
-- Choose a pumpkin that isn't bruised, preferably one that is about the size and shape of your design.
-- Pick one that is smooth and evenly colored so that your design transfers clearly.
-- The pumpkin you select must have a flat bottom so it sits upright.
-- Never choose pumpkins that have mold around the stem. They could be rotting.
-- To prevent a pumpkin from breaking, do not carry it by its stem.
-- When picking pumpkins for children, select lighter-colored, softer pumpkins, as they are easier to carve even though they don't last as long.
Pumpkin-Carving Tips
Here are some tips to help you carve that perfect Halloween jack-o'-lantern this year:
-- Draw a circle on the bottom of your pumpkin.
-- Carefully cut along lines with the carving saw.
-- Angle the blade toward the center of the pumpkin to create a ledge that supports the cut piece and remove.
Cleaning and Scraping a Pumpkin
-- Clean out the seeds and strings.
-- Scrape inner pulp away from the area you plan to carve until the pumpkin wall is about an inch thick.
Attaching and Transferring a Pattern
-- Trim the pattern, leaving a one-half-inch border around the design before taping the pattern to your pumpkin.
-- Make sure the pattern fits smoothly with small folds at the black slash lines, then tape folds into place.
-- Poke holes through the pattern with a nail, pushpin, or pumpkin poker. Make the holes about one-eighth-inch apart, and keep these holes closer if you have a complicated pattern.
-- Remove the pattern when the lines are transferred.
-- Rub flour or chalk dust all over the part of the pumpkin where you poked the holes so you can see them better.
-- Push a nail through the pumpkin skin where you want to start your carving.
Sawing Your Pumpkin
-- Hold pumpkin in your lap and hold the saw as if holding a pencil. Saw steadily with continuous up-and-down motions.
-- Saw at a 90-degree angle to the pumpkin with gentle pressure.
-- When you are making curves, you need to just slightly turn the saw. When you are at the point of making sharp corners, remove the saw, and reinsert it at an angle.
--To remove the pieces, push them out from the inside. Cut larger pieces them into smaller bits, and remove them in sections.
Preserving Your Pumpkin
-- Put petroleum jelly on the cut edges of your carving to prevent pumpkin from drying out.
-- Spray pumpkin with water, cover it with plastic wrap, then store it in the refrigerator when it's not on display. This helps prevent premature decomposition.
-- Soak or spray the pumpkin with water mixed with a little bit of bleach, as this will keep away mold and kill insects for a longer; and preservation.
-- If your pumpkin is showing signs of shriveling, soak it in water for several hours. When it is removed from the water, dry the inside with a towel as much as possible to prevent mold growth.
Illumination Tips
-- Use pumpkin lights, as these are safer than candles. If you do use candles, use them in a candleholder designed for lighting pumpkins.
-- Light the candle, and place it on tinfoil inside the pumpkin. Put the pumpkin lid on for a while, then remove it. There should be a smoke mark on it.
-- Cut a vent in the lid where the smoke mark shows.
-- If you created an opening from the bottom of the pumpkin, then you can attach the light source to the bottom lid and place the pumpkin over it. If the light source is a candle, you can also drill a hole to secure the candle and provide more stability.
-- For a multicolor display, you can use a battery-operated light with light-emitting-diode (LED) bulbs.
-- For that Halloween spice smell, you can sprinkle cinnamon, nutmeg, and pumpkin spice on the bottom of the pumpkin lid. Once the pumpkin is lit, it will give off that seasonal smell.
-- You can cast shadows from the back of your pumpkin by carving a unique pattern.
Here are some Web sites where you can learn more:
-- Pumpking Masters
-- DLTK
© Copyright IBTimes 2024. All rights reserved.
-

French Air Traffic Controller Strike Threatens Flight Chaos
-
Azerbaijan Says 'Closer Than Ever' To Armenia Peace Deal Amid Border Talks
-

How UK's Biggest Water Supplier Sank Into Crisis
-

Taiwan Hit By Dozens Of Strong Aftershocks From Deadly Quake
-

Gaza Health System 'Completely Obliterated': UN Expert
-

In Ecuadoran Amazon, Butterflies Provide A Gauge Of Climate Change
-

50 Years On, Vintage Vehicles To Reenact Portugal's Carnation Revolution
-

Conflicts Push Military Spending To 'All-time High': Report
-

'Thank You, America:' Zelensky And Netanyahu Applaud House Passage Of Foreign Aid Package
-

Women Journalists Bear The Brunt Of Cyberbullying


