

Creative DIY Projects For Beginners 2024: Making Beauty Out Of Simple Things

Got some spare time? You can try your hands at some interesting DIY projects to make it productive. If it's your first foray into such projects, fear not, because there are a lot of creative DIY ideas for beginners that you can do.
Here are some simple, but fun ideas for beginners:
Dip dye pots
What better way to make your terracotta pots more beautiful than to give them a colorful makeover? All that you need is acrylic paint or food coloring. Be creative with this one because the designs that you can make are endless.
Materials:
- Terracotta pots
- Acrylic paint (choose colors)
- Paintbrushes
- Water
- Newspaper or plastic to protect your work surface
- Sealer (optional)
Steps:
- Lay down newspaper or plastic to prevent paint splatters from getting onto the surface of your work area.
- Choose the colors that you want for your pot. You can even go for multiple colors to create a gradient effect.
- It's time to dip the pot. Just hold it upside down and then dip it in the paint. You can dip it straight or can create some designs by dipping it diagonally.
- Get rid of the excess paint from the pot.
- Allow the pot to dry and enjoy your cute project.
Wall hangings
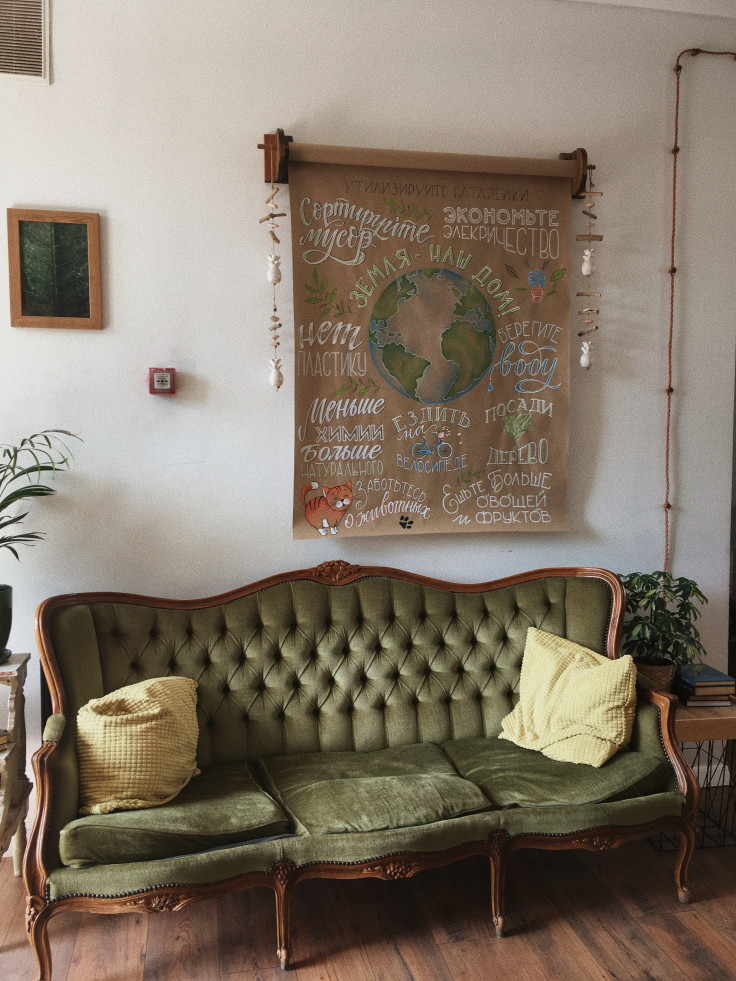
You can create eye-catching wall hangings using fabric or tapestries. This could be ideal if you feel that you need to add some color to your walls. There are quick DIY tutorials on YouTube, which will teach you how you can create a lovely wall hanging using fabrics of your choice.
Materials needed:
- Wooden dowel or driftwood
- Yarn in various colors
- Scissors
- Measuring tape or ruler
- Comb or brush (optional, for fringes)
Steps:
- If you are using a wooden dowel, you can spray paint or stain it. Just make sure you let it dry before starting your DIY project.
- Decide on how long you want your wall hanging to be and then cut several pieces of yarn at this length. Just make sure they are all roughly the same size.
- Attach the yarn to the dowel. Make sure you pull the ends of the yarn through the loop.
- You can then create a fringe by cutting additional pieces of yarn and attach them at the end of the dowel.
- Add layers using the same loop and pull-through method. You can get creative by mixing different colors of yarn.
Mason jar lanterns
Making mason jar lanterns is a fun activity that you will surely enjoy. Just try it once, and you may end up making many more of these attractive lanterns because of the beauty they add to your surroundings.
Materials needed:
- Mason jars
- Sandpaper
- Acrylic paint (optional)
- Paintbrushes (optional)
- Tea light candles or battery-operated LED lights
- Wire or twine
- Pliers
- Decorative elements (optional)
Steps:
- Clean the mason jars and make sure they are dry.
- If you desire colored lanterns, try to apply a thin coat of acrylic paint to the jars' exterior. Make sure the paint completely dries up.
- Now, you can design your lanterns. You can paint patterns on the jar or create a gradient effect.
- Try adding decorative elements to your mason jars. You can use lace, ribbons or twine around the neck of the jars.
- Attach the wire or twine that will be used to hang the jars and make sure they are securely placed at the neck of the jar. Twist them slightly and use pliers to make them secure.
- Add the lights. You can opt for tea light candles or battery-operated LED lights.
Tie-dye shirts
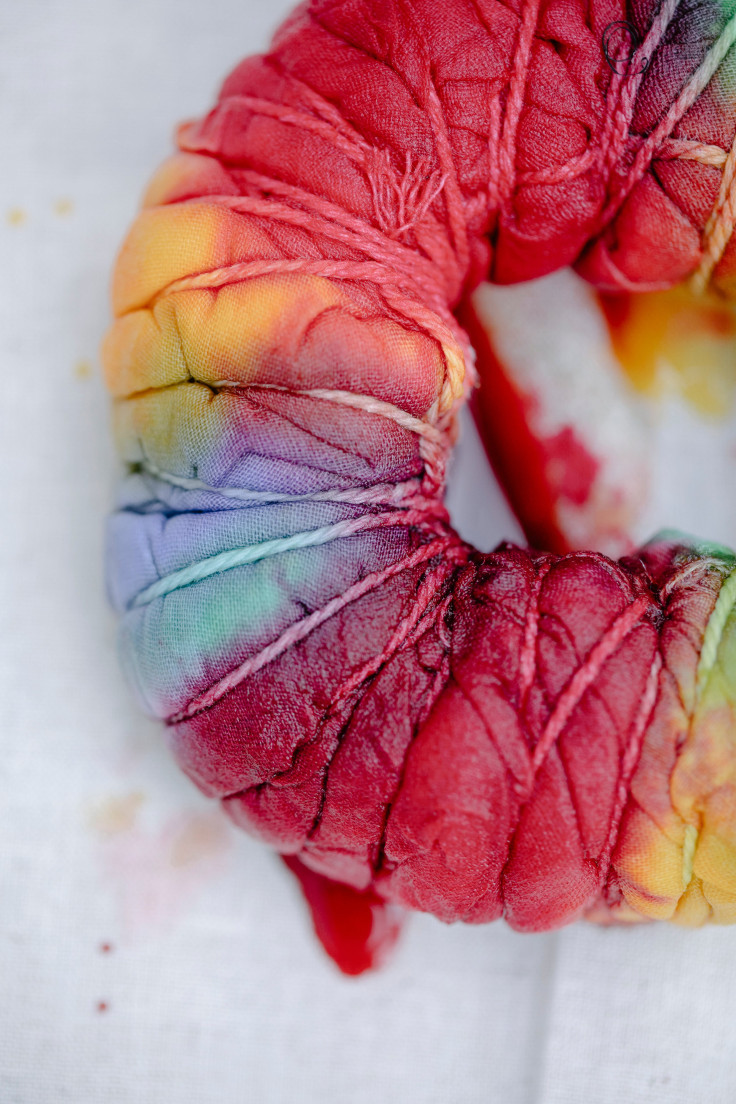
This may be one of the most common and oldest DIY projects that you can do today, but it is still a fun activity. By tie-dying shirts, you may be able to add more color to your wardrobe.
Materials needed:
- White cotton shirt (washed and dried)
- Fabric dye or tie-dye kit
- Rubber bands
- Plastic squeeze bottles or spray bottles
- Plastic gloves
- Plastic table covers or garbage bags
- Plastic bags or plastic wrap
- Water
Steps:
- Use plastic covers or garbage bags to cover the work area and protect it from being splattered with dye.
- You can choose the design of the shirt that you want. There are certain designs that you can choose from. You have the spiral, which you can secure by pinching the center of the shirt and twisting it into a spiral. You could also go for a bullseye – just pinch certain areas in the fabric and secure the pinched area with a rubber band.
- Wearing plastic gloves while applying the dye. Just follow the instructions on the package.
- Apply the dye to the shirt using plastic spray bottles.
- The next step is to wrap the shirt in a plastic bag or plastic wrap to keep it moist.
- Allow the dye to set, either for several hours or overnight.
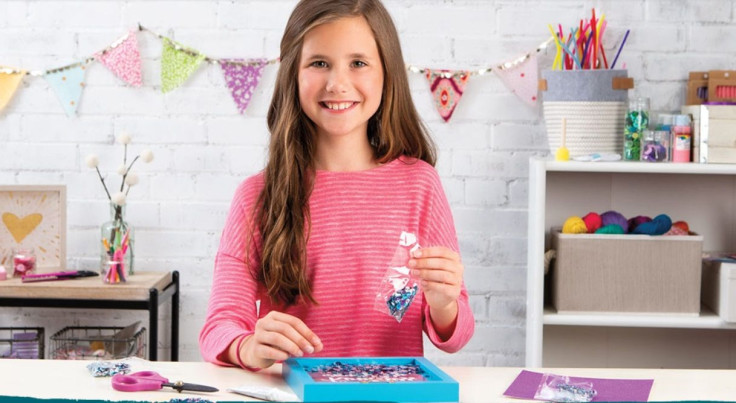
Beaded phone case
This could be the easiest DIY idea for beginners. You need simple materials for this project.
Materials needed:
- Clear phone case (choose one that fits your phone model)
- Seed beads or small beads in various colors
- Beading thread or clear fishing line
- Beading needle
- Scissors
- Pencil or marker (for design planning)
Steps:
- Plan the design. You can sketch a pattern to guide you. Do it either on paper or directly on the case.
- Thread the needle. Also, make sure that the thread is enough for the size of the phone.
- Start beading at the edge of the phone case. Follow your planned design. You can even create shapes and pictures. Don't forget to leave a little extra thread at the beginning so that you can tie a knot securely.
- Keep threading and secure them as you go along.
DIY bath bombs
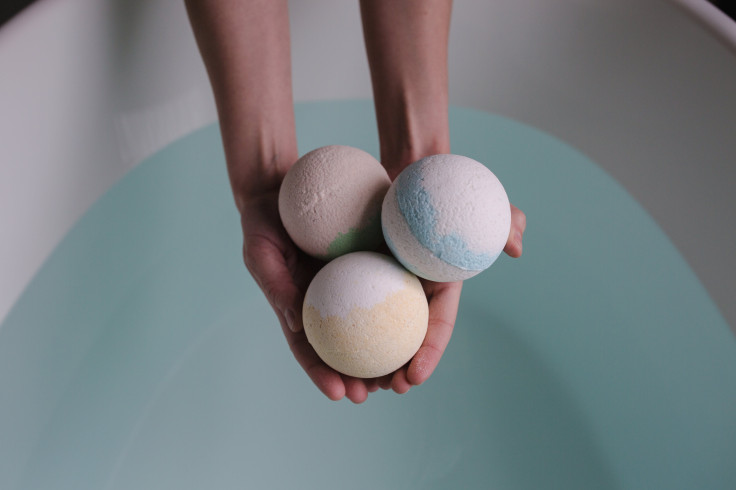
If you love baths, you can make your own relaxing bath bombs using essential oils and dried flowers. You can even give them to your dear ones as a gift.
Ingredients:
- 1 cup baking soda
- 1/2 cup citric acid
- 1/2 cup cornstarch
- 1/2 cup Epsom salt
- 3 teaspoons melted coconut oil or any carrier oil of your choice
- 1 teaspoon water
- 15-20 drops of essential oil (e.g., lavender, eucalyptus, peppermint)
- Natural food coloring or skin-safe soap dye (optional)
- Bath bomb molds or silicone molds
Steps:
- In a mixing bowl, combine baking soda, citric acid, cornstarch and Epsom salt.
- Ensure even distribution by whisking.
- In a separate bowl, mix the melted coconut oil, water and essential oils.
- Slowly, add the wet ingredients to the dry ones. Make sure you mix them thoroughly.
- Check if the mixture has a crumbly mixture, one that would stick together when you press them with your hands.
- You may also add color to the mixture using natural food coloring.
- Pack them tightly into molds and let them sit for at least 24 hours.
- Tap the molds gently to release the bath bombs.
© Copyright IBTimes 2024. All rights reserved.
-

Microsoft Expands Its AI Empire Abroad
-

Oil: 'Mother Of Corruption' In Venezuela
-

'Extreme' Climate Blamed For World's Worst Wine Harvest In 62 Years
-

Macron Warns 'Mortal' Europe Needs Credible Defence
-

Bitcoin And Crypto Price Review - Another Myth Gets Busted?
-

Mass Cancellations Loom Despite French Air Union Cancelling Strike
-

Mired In Crisis, Boeing Reports Another Loss
-

Recycled 'Zombie' Misinformation Targets US Voters
-

Hackers Leak Part Of Source Code Of El Salvador's Bitcoin Wallet
-

Azerbaijan Says 'Closer Than Ever' To Armenia Peace Deal Amid Border Talks


