

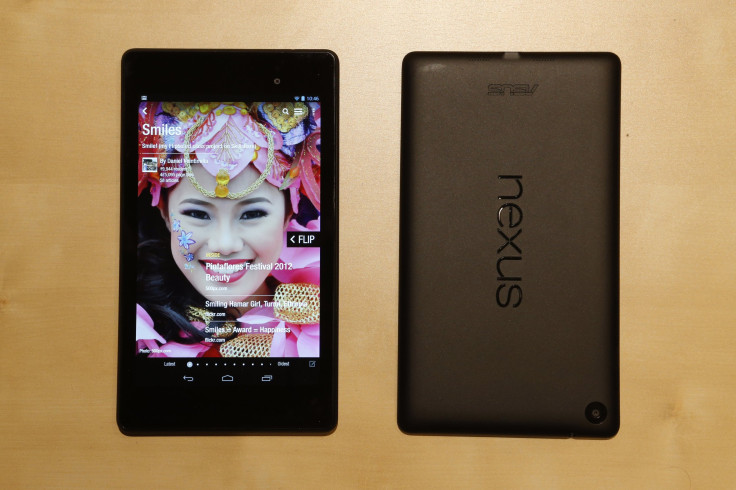
Android 4.4 KitKat Update: How To Manually Update Nexus 7 With The Latest Android Firmware [Tutorial]

The Wi-Fi versions of both 2012 and 2013 Nexus 7 tablets began receiving the official Android 4.4 KitKat firmware update through over-the-air, or OTA, updates on Wednesday. The new firmware update comes with many new features, such as a new launcher and a modified user interface for a number of built-in apps.
For users that are yet to receive the OTA update on their devices, they can perform a manual installation process to upgrade their Nexus 7 tablet, for both 2012 and 2013 models, to the latest Android 4.4 KitKat.
Points To Note
- Ensure that you have proper data backup.
- The device should be fully charged.
- The USB drivers for the device must be installed on the computer. [Download]
- Enable USB Debugging.
- The Nexus 7 2013 needs to be running on Android 4.3 JSS15R (not rooted), which is the previous official update. If you are using Nexus 7 2012, the device needs to be running on Android 4.3 JWR66Y (not rooted), which is the previous official firmware.
NOTE: International Business Times will not be responsible for anything that goes wrong. Users should proceed at their own risk.
Tutorial
Step 1: Download Android 4.4 KitKat for your Nexus 7 -- 2012 model, 2013 model -- to your computer.
Step 2: Connect the device to your computer using USB cable.
Step 3: Place the .zip package on your SD card.
Step 4: Turn off the device.
Step 5: Get into the bootloader mode by holding down volume up, volume down and power on the tablet until you see the Fastboot menu and START on top.
Step 6: Navigate to "Recovery mode" by using the volume up and down keys, and then press the power button to select it.
Step 7: After an exclamation mark appears, hold down the power button, quickly followed by the volume up button. It will bring up the Recovery Mode menu.
Step 8: Now select “update from SD card” first, and then select the “.zip” file using the Power button. The Installation process will now be started.
Step 9: Once the installation is finished, the Nexus 7 will boot on its own. The first boot may take some time.
[Source: Team Android]
© Copyright IBTimes 2024. All rights reserved.
-

Microsoft Expands Its AI Empire Abroad
-

Oil: 'Mother Of Corruption' In Venezuela
-

'Extreme' Climate Blamed For World's Worst Wine Harvest In 62 Years
-

Macron Warns 'Mortal' Europe Needs Credible Defence
-

Bitcoin And Crypto Price Review - Another Myth Gets Busted?
-

Mass Cancellations Loom Despite French Air Union Cancelling Strike
-

Mired In Crisis, Boeing Reports Another Loss
-

Recycled 'Zombie' Misinformation Targets US Voters
-

Hackers Leak Part Of Source Code Of El Salvador's Bitcoin Wallet
-

Azerbaijan Says 'Closer Than Ever' To Armenia Peace Deal Amid Border Talks


