Root Samsung Galaxy Note GT-N7000 On Android 4.1.2 Jelly Bean (N7000ZSLM5) Official Firmware [Tutorial]

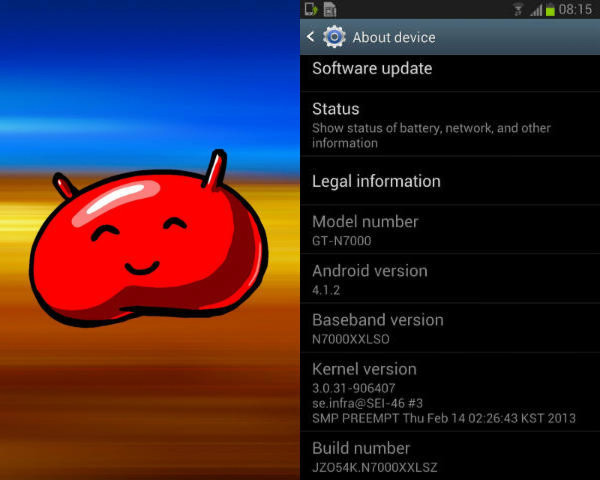
The international version of the Samsung Galaxy Note (GT-N7000) started receiving the Android 4.1.2 Jelly Bean official firmware update Monday. In case you are yet to receive the update or you’ve faced any issue while upgrading the device, check out the manual installation process here.
If you have the Android 4.1.2 Jelly Bean (N7000ZSLM5) installed on your Galaxy Note, below are the steps to root the device running on the latest firmware update. The tutorial, explained here, shows how to root the handset in a safe way without having to wipe data.
User should keep in mind that after the device is rooted, the warranty will be void. However, it could be reclaimed by applying the official firmware updates again. In addition, there are some other important aspects that users need to know before trying their hands on the rooting procedure:
- Having proper backups for personal data, apps and settings is must
- The process is meant only for Samsung Galaxy Note (GT-N7000) running on Android 4.1.2 Jelly Bean official firmware. The users must check their devices’ model number in: Settings > About Phone
- The device should be fully charged
- USB Driver must be installed for Galaxy Note in your computer with USB Debugging enabled
- IBTimes cannot be held responsible for anything that goes wrong. Users should proceed at their own risk
Procedure
Step 1: Download Root Kernel N7000ZSLM5 for Galaxy Note.
Step 2: Download Odin v1.85 and extract the file.
Step 3: Switch off your phone and go to Download Mode on your phone. To do this, press and hold the Volume Down + Home buttons together and then press the Power button. After you see a warning screen, press Power button to confirm to enter Download Mode.
Step 4: Run Odin as Administrator and connect the phone to your computer via USB cable while in Download Mode.
Step 5: If the phone is connected properly, you will see “Added” message in Odin. You will also see COM port with a number in Yellow.
Step 6: Click the PDA button in Odin and select file that you have downloaded in Step 1.
Step 7: In Odin, check the Auto Reboot and F. Reset Time options.
Step 8: Click on the START button in Odin to start flashing.
Step 9: After the flashing is done, you will see a PASS message with green background in the left-most box at the top of the Odin. The Galaxy Note will restart automatically. Once you see the home screen, you can unplug the phone from the computer.
To verify whether the Samsung Galaxy Note is rooting properly, click here.
[Source: Team Android]
© Copyright IBTimes 2024. All rights reserved.


