How To Turn Your Apple Watch Sport Box Into A Nifty Charging Stand

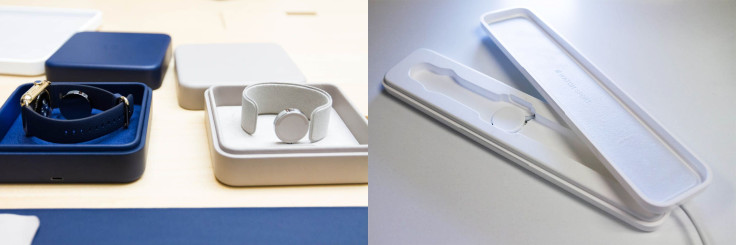
If your wallet is deep enough to spend at least $10,000 on the 18-karat gold Apple Watch Edition, Apple Inc. throws in a fancy box that doubles as a charger. For everyone else, there's just the box and a plastic charging cable.
That isn't too big of an issue for customers who have opted to purchase a separate charging stand fom Spigen, Dodocase or a number of other third parties. But if you're looking to save a few dollars and channel your inner MacGyver, the Apple Watch Sport box can also be repurposed to make your own charging stand.We’ll show you how to do just that with a few common household tools and some elbow grease.
Minimum Tools Required
Utility knife/multi-tool
Nail file
Flat screwdriver
Dremel/rotary tool (optional, but will make the process a whole lot easier)
Bandages (for any cuts along the way)
Lots of patience
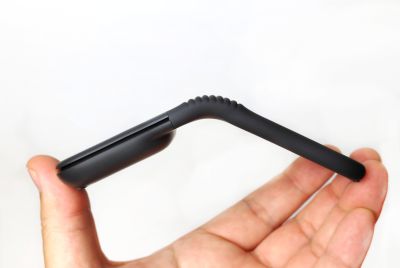
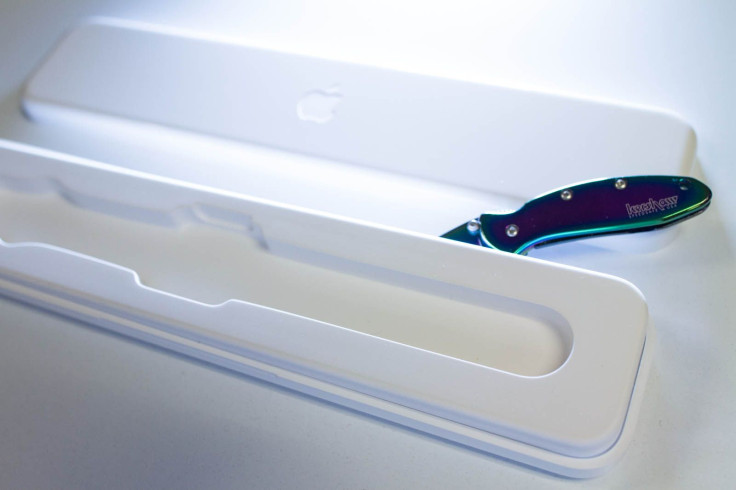
1. The Apple Watch Sport insert is attached to the box by three pieces of adhesive. Use a knife or screwdriver to pry up its edges. Once the adhesive loosens, it should easily pop out.
2. Remove the center clear plastic piece and place the charger against the bottom of the insert to trace with a pen or pencil. If you’re not sure where to position it, place the Apple Watch in the insert during the tracing process. The magnetic charger should then latch on to the proper position.

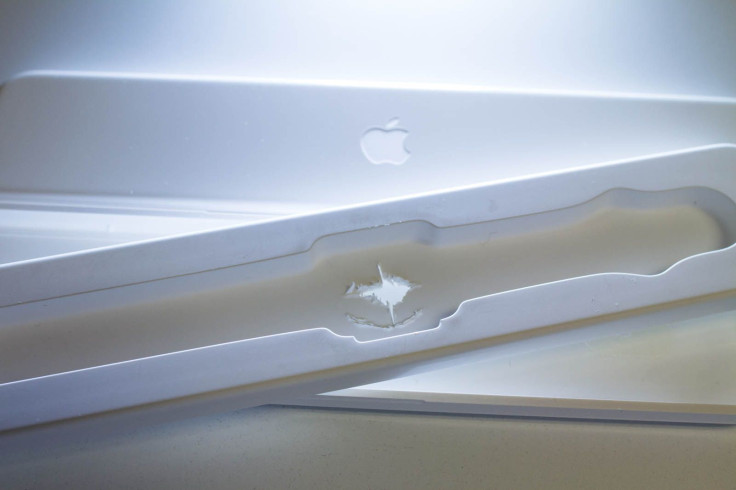
3. After creating the tracing template, begin making the cutout for the charger. If you’re only doing this with a knife, this process can be difficult, since the plastic takes some work to whittle away. If available, use a Dremel or rotary tool to make the hole instead. But if you go that route, wear a mask and plastic goggles.
Note: Knives are sharp. Use caution while making the cutout.
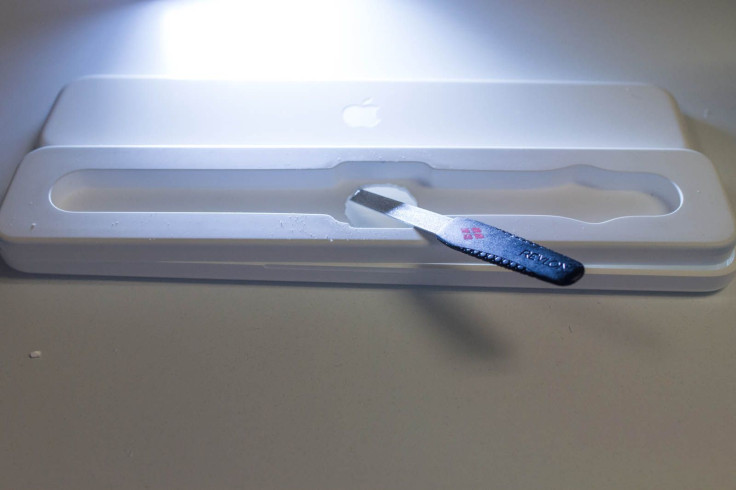
4. After completing the cutout, use a metal file or nail file to smooth out the hole.
5. To accommodate the magnetic charging cable, cut a small notch at the edge of the cutout. A similar notch at the bottom of the box insert and the box exterior is also needed if you plan on closing the box when not in use.

6. Place the magnetic charger into the hole and run the cable through the newly made notches and replace the insert with attached charger. Press firmly at the top and bottom to reattach to the box if you haven't removed the adhesive. The insert is easily removable if you change your mind about using the case as a charger.
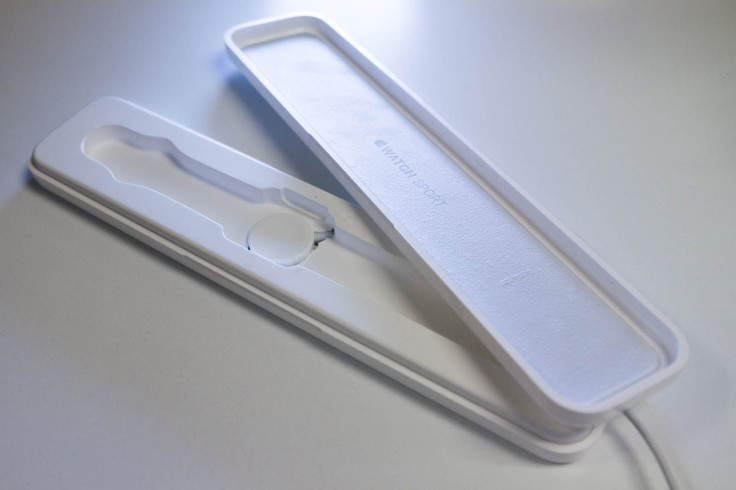
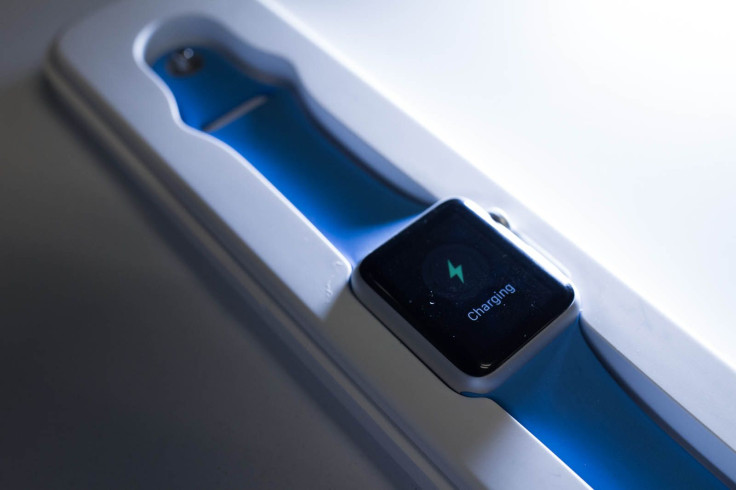
7. Plug in your newly made Apple Watch charger and you're good to go.

Note: Apple recommends charging the Apple Watch in a well-ventilated space and closing the box during charging is not advised.
© Copyright IBTimes 2026. All rights reserved.
- MOST POPULAR IN Technology